This has been available for a couple of months now but thought I’d share the info here.
It is now easily possible to have ISTA-P and ISTA-D running natively on a modest laptop without multiple virtual machines.
Although slightly out of date, software is now at ISTA-P 3.61.4.002 I believe, it’s very powerful. I still use Standard Tools for most things but ISTA-D is a great diagnostic tool. The native install can be updated by simply replacing the ISTAP folder from a newer version. WSM will not be updated of course and ISPI NEXT will soon take over anyway.
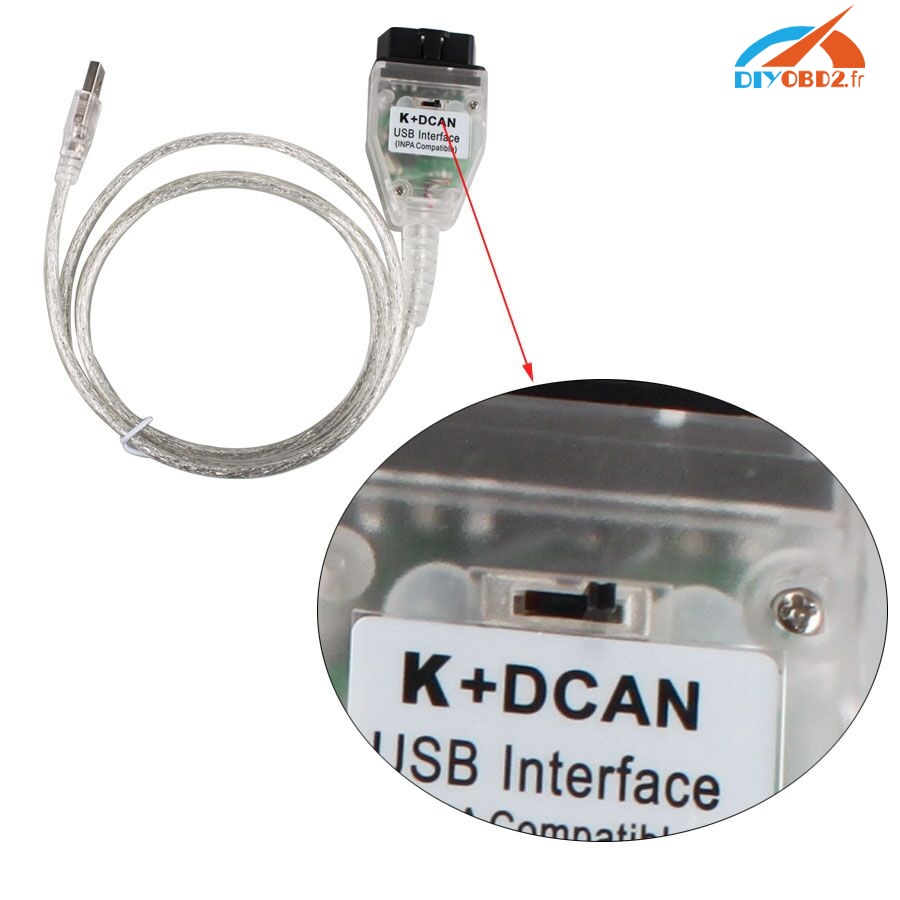
Best of all, both work with a $20 K+DCAN cable. Albeit ISTA-P will require a free ICOM Emulator.
I have tested this on a 500gb HDD 8gb RAM laptop running win7 x64. Results are very good. Don’t worry about ISTA-P MOST requirement. With expert mode you can select which modules you program.
Download is via torrent:
Torrent link for ISTA-P:
https://drive.google.com/file/d/0B0h…p=docslist_api
ICOM Emulator Registration XMLS:
Link
Magnet Link for ICOM Emulator:
magnet:?xt=urn:btih408C34EB285E48CB3AB61C1448911 9C836BC50C&dn=BMW%20ICOM%20emulator%20v3.1%20Rev%2 8b%29&tr=http%3a%2f%2fbt3.rutracker.org%2fann%3fuk %3dTsC40pcY55&tr=http%3a%2f%2fretracker.local%2fan nounce
Below is copied from another forum, I don’t take any credit for it, but happy to answer queries.
Instructions:
Compatible with Chinese ICOM A1 & ICOM A2, Original ICOMs and Emulator will need registering
Works on XP, Windows 7, Windows 8, Windows 8.1 & Windows 10
(32bit/64bit)
Notes:
Unblock the rar archive before extracting i.e right click > properties > click “unblock”.
Use WinRAR V5 to extract.
Ediabas 7.3 needs to be installed
Disable firewall to avoid blocking issues – This is not needed as you can allow all service requests access when the popup appears.
Voltage constant has been added – to remove this form Emulator use:
———
Delete IFS.ServicesImplementation.dll in:
\apps\ISTA-P\Taurus\ISOM\bin\
then rename _orig_IFS.ServicesImplementation.dll to IFS.ServicesImplementation.dll
Basic Instructions:
***Setup your HDD into 3 partitions C – D – E***
C or D can be used as the main install location.
If you choose C for main install then D and E need only be 2GB partitions.
1. Put the large “apps” folder in the root directory of disk C:
C:\apps
2. Copy the file “WindowCleaner.exe” to C:\Windows\System32\
3. Copy the “ISIS” folder to C:\ProgramData\
Note: ProgramData folder may be hidden. If so go to folder options in control panel to unhide.
4. Copy the “WorkUser” folder to C:\Users\
5. Copy the files START-ISTA.exe and STOP-ISTA.exe to your desktop
6. Rename your Network Card to “Eth0”
7. Write down your PC network card mac address and in file:
D:\apps\WSM\apps\agent\data\DeviceInventory-ISTA_P_53_5_000.xml
change the mac address to match your own
8. Run “Setup.exe” as administrator (also disable your firewall/temporarily disable anti virus)
9. Restart your computer
Notes:
Register your ICOM if needed (ICOM A1 clone is already set up).
Start ISTA using icon on desktop.
**YOU MUS USE ‘STOP-ISTA.EXE’ after closing the application.
How to run ISTAP native with K+DCAN interface using BMW ICOM:
- Disable firewall.
2. Remove voltage constant.
3. Extract and copy the ICOM emulator xml files to:*:\apps\wsm\apps\agent\data\4. In VMware network editor, ensure “VMnet0” is set to “bridged” and your LAN network adaptor is selected in the drop down menu.
5. In VMware network editor, add a new network called “VMnet3” and set it up as shown in the picture below:
Note: Click “apply” and “ok” and close down VMware.
6. Open VMware again and start emulator using the k+dcan snapshot. Once it has loaded up, go to the vm settings and change network adaptor 1 to “VMnet3(host only)”. Click “ok” then wait 30 seconds for network to re-initialise.
note: you can now create new snapshot if you want.
7. Connect K+DCAN cable to emulator and car and run “ifhsrv32” using icon on emulator desktop.
note: ensure k+dcan cable usb icon is active in the vm.
8. Start ISTAP native, start a session and choose “ICOM emulator” in connection manager screen.
note: if everything is ok, the led on your cable should start to flash after a minute or so. If not, recheck emulator settings (i.e. com9, latency timer set to 1 etc.).