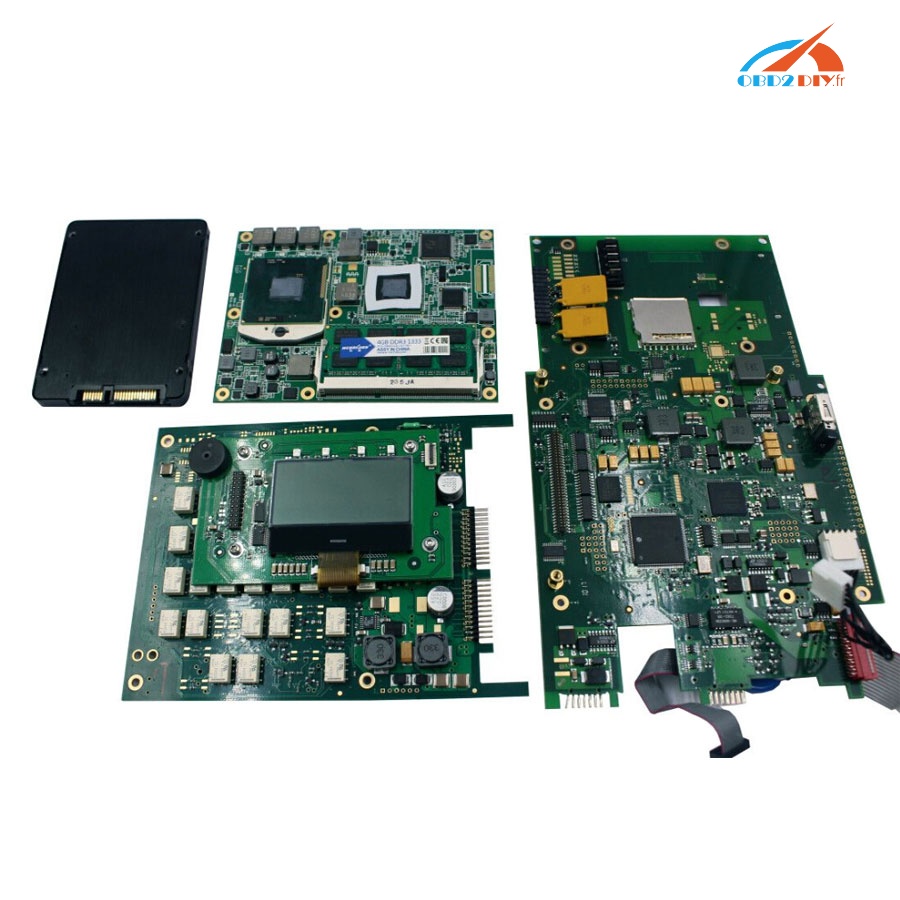
How much do you know Xentry Connect C5 Mb diagnostic tool?
Look here:
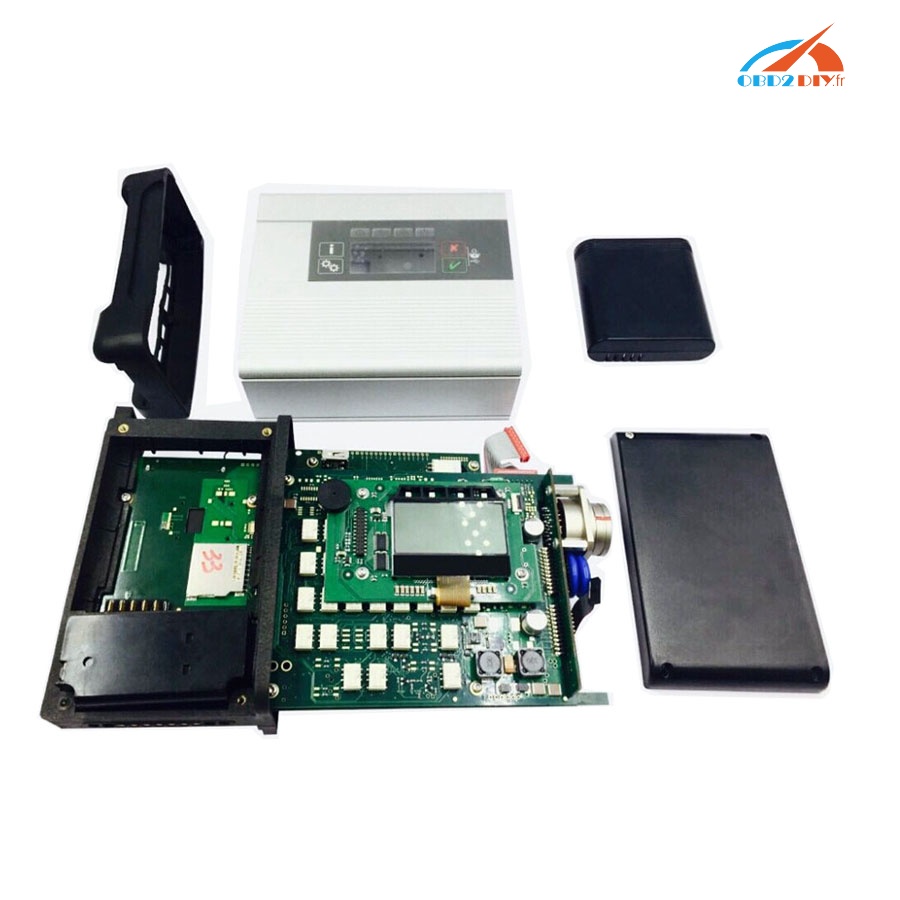
Numercedeser chip is for unique identification of Xentry Connect
Part of the accessories
Each numercedeser must be assigned only once during configuration
Information – Cancel/escape
Settings/function – OK/confirm
Display is used to show certain indicators, e.g. battery level or network connection mode
Work status – Operational readiness
Malfunction status – Network status
Cancel/escape
OK/confirm
Pressing the operating buttons “Cancel/escape” and “OK/confirm” simultaneously starts the update process
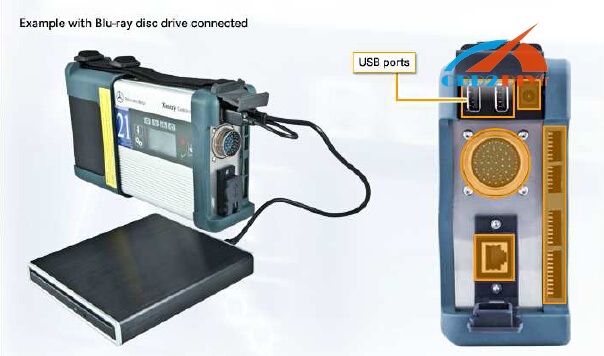
The right-hand side

Usb port
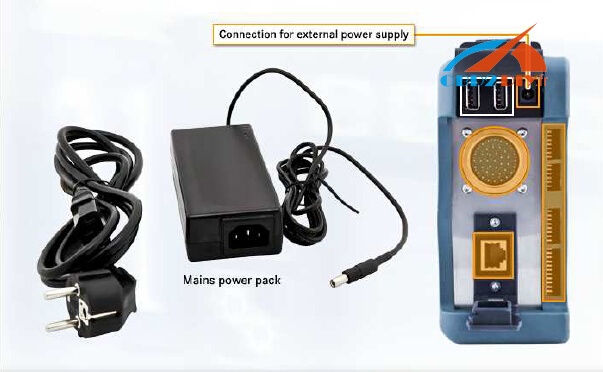
Port for connection of external power supply
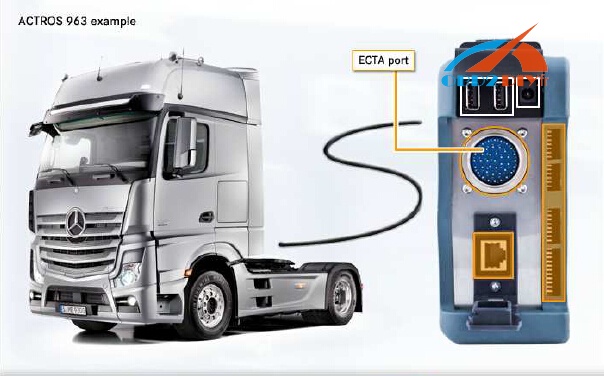
ECTA port
Ventilation slots for cooling the electronic components in the housing

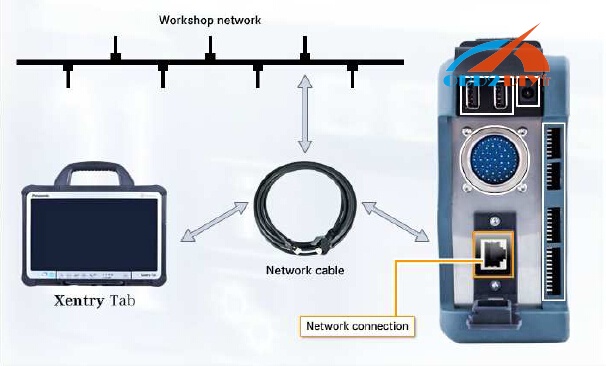
Network connection
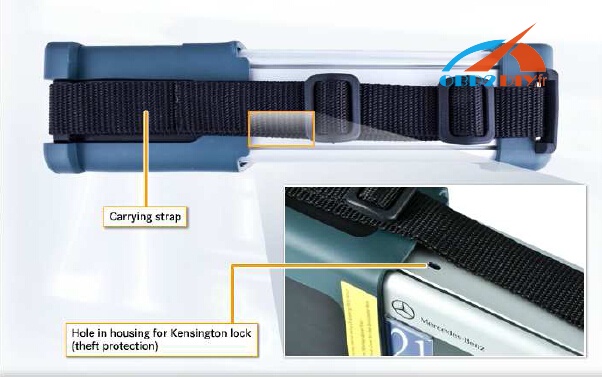
The top side with a carrying strap
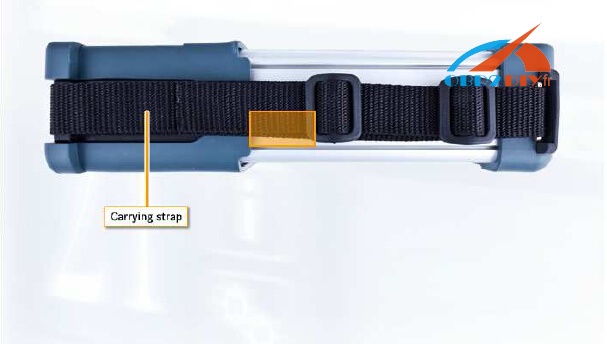
Hole in housing for Kensington lock (theft protection)
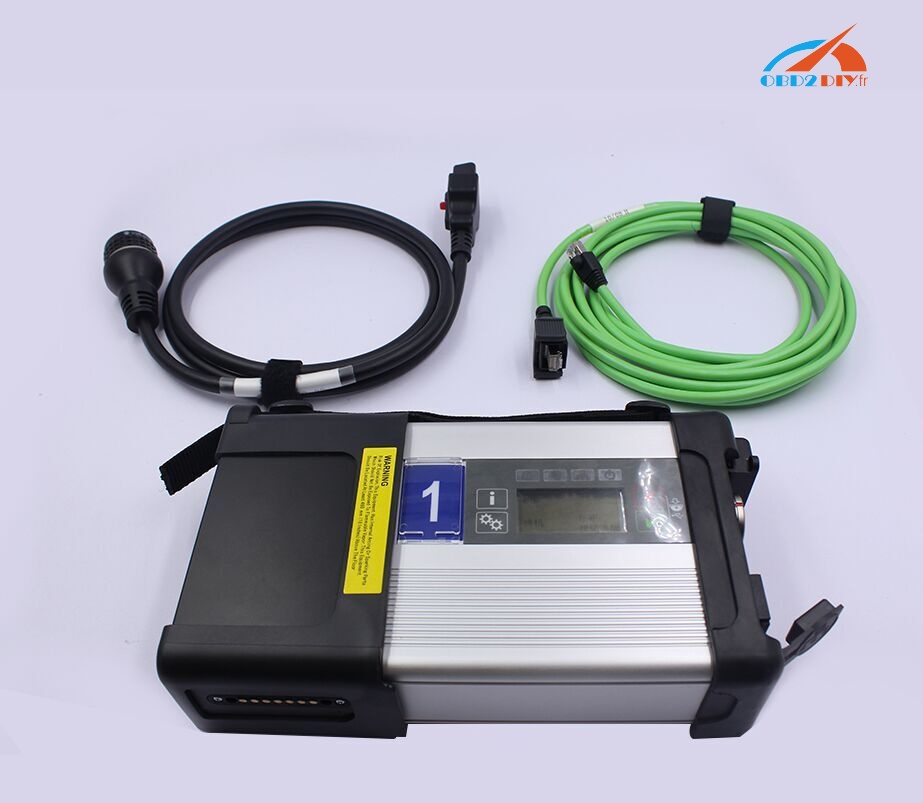
Xentry Connect C5

Source: http://blog.obd2diy.fr/2017/11/23/how-to-tell-its-a-real-xentry-connect-c5-not-fake/
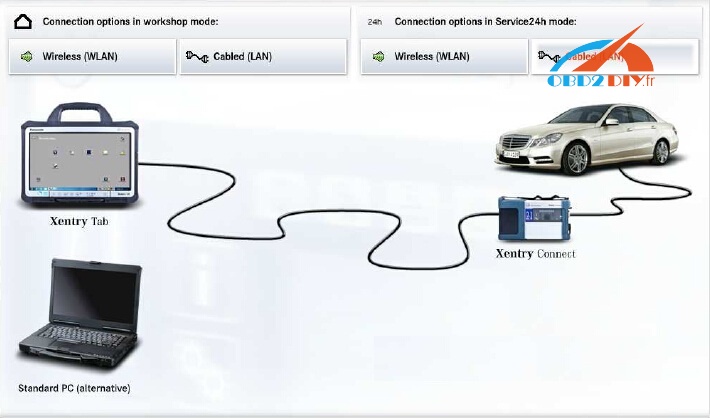
Xentry Connect C5 Connection
Connection options in workshop mode:
Wireless (WLAN)
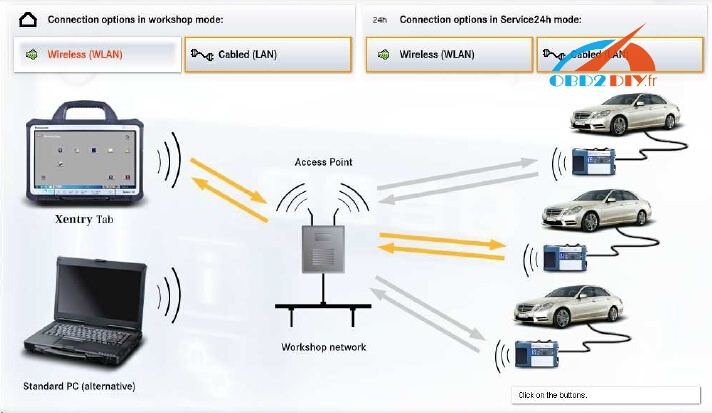
Cabled (LAN)
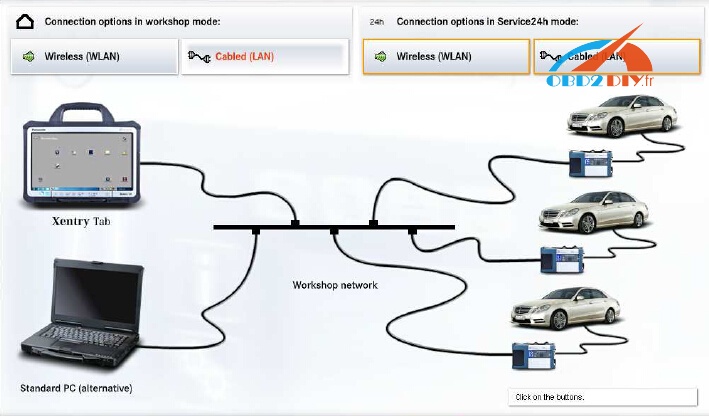
Connection options in Service24h mode:
Wireless (WLAN)
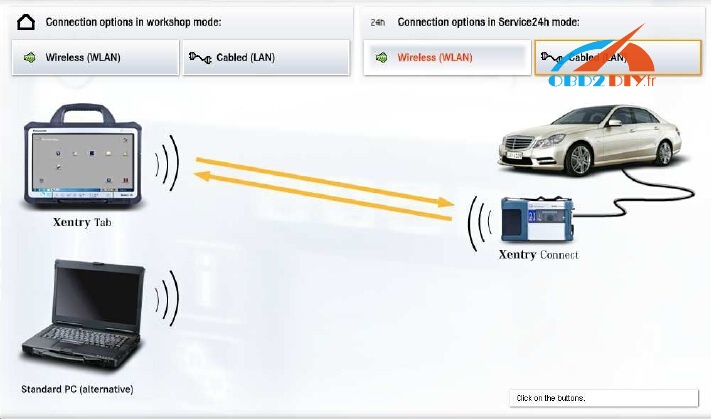
Cabled (LAN)
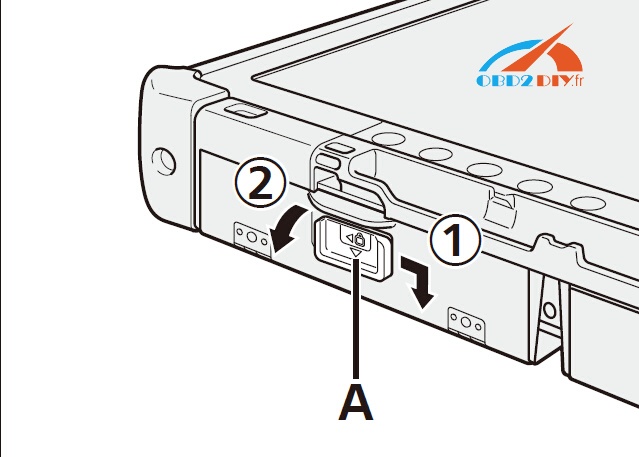
1 Insert the Battery Pack
– Do not touch the terminals of the battery pack and the computer. Doing so can
make the terminals dirty or damaged, and may cause malfunction of the battery
pack and the computer.
– Be sure to attach the cover for use.
In details…
Step 1: Slide the latch (A) in the direction of the arrow.
Step 2: Open the cover.
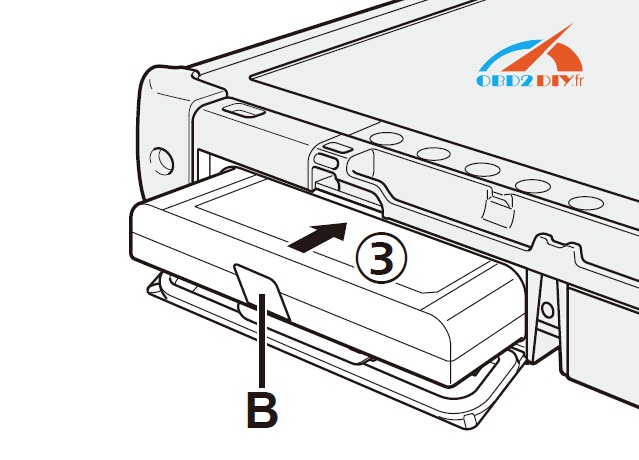
Step 3: Insert the battery pack until it securely fits the connector.
Step 4: Close the cover until it clicks.
Step 5: Slide the latch (A) in the direction of the arrow.
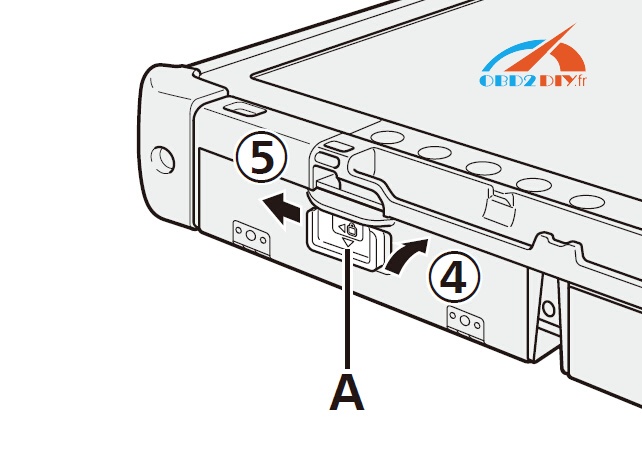
To remove the battery pack
In step 3 above, pull the tab (B) of the battery pack.
CAUTION
Make sure the latch is securely locked. Otherwise the battery pack may fall
when you carry the computer.
NOTE
Note that the computer consumes electricity even when the computer power is
off. If the battery pack is fully charged, the battery will fully discharge in the following period of time:
- When power is off: Approx. 9 weeks
- In sleep ( )/standby ( ): Approx. 4 days
- In hibernation: Approx. 8 days
If “Wake Up from LAN” is disabled, the period of time in sleep will become
slightly longer, and the period of time in hibernation will become about the same
as during power-off.
When the DC plug is not connected to the computer, disconnect the AC cord
from your AC wall outlet. Power is consumed simply by having the AC adaptor
plugged into an electrical outlet.
2 Connect your computer to a power outlet, and connect the
external keyboard and mouse to the USB ports.
A Slide the latch in the direction of the arrow.
B Open the cover.
C Connect the AC adapter.
The battery charging starts automatically.
D Slide the latch of one of the three USB ports in the direction of the arrow.
E Open the cover.
F Slide the latch of another USB port in the direction of the arrow.
G Open the cover.
H Connect the external keyboard and mouse to the USB ports.
CAUTION
– Do not disconnect the AC adapter and do not switch the wireless switch to on
until the first-time operation procedure is completed.
– When using the computer for the first time, do not connect any peripheral device
except the battery pack, AC adapter, external keyboard and mouse.
– Handling the AC adapter
Problems such as sudden voltage drops may arise during periods of thunder
and lightning. Since this could adversely affect your computer, an uninterruptible
power source (UPS) is highly recommended unless running from the
battery pack alone.
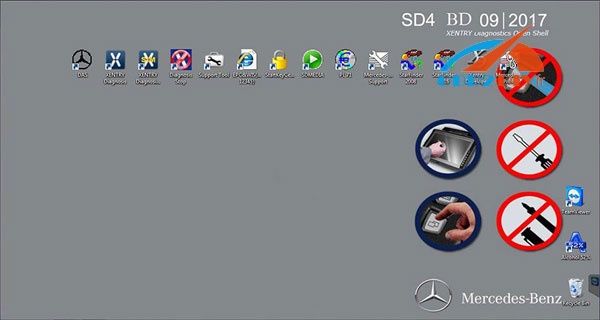
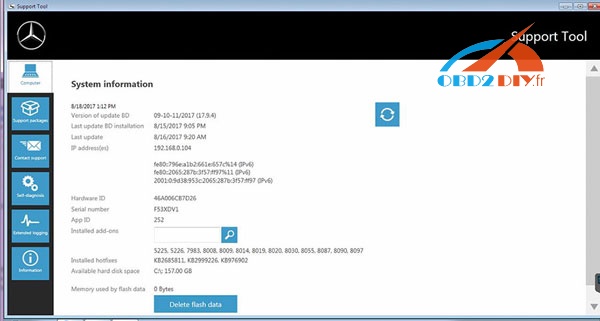
3 Turn on the computer and run Xentry/DAS software for use
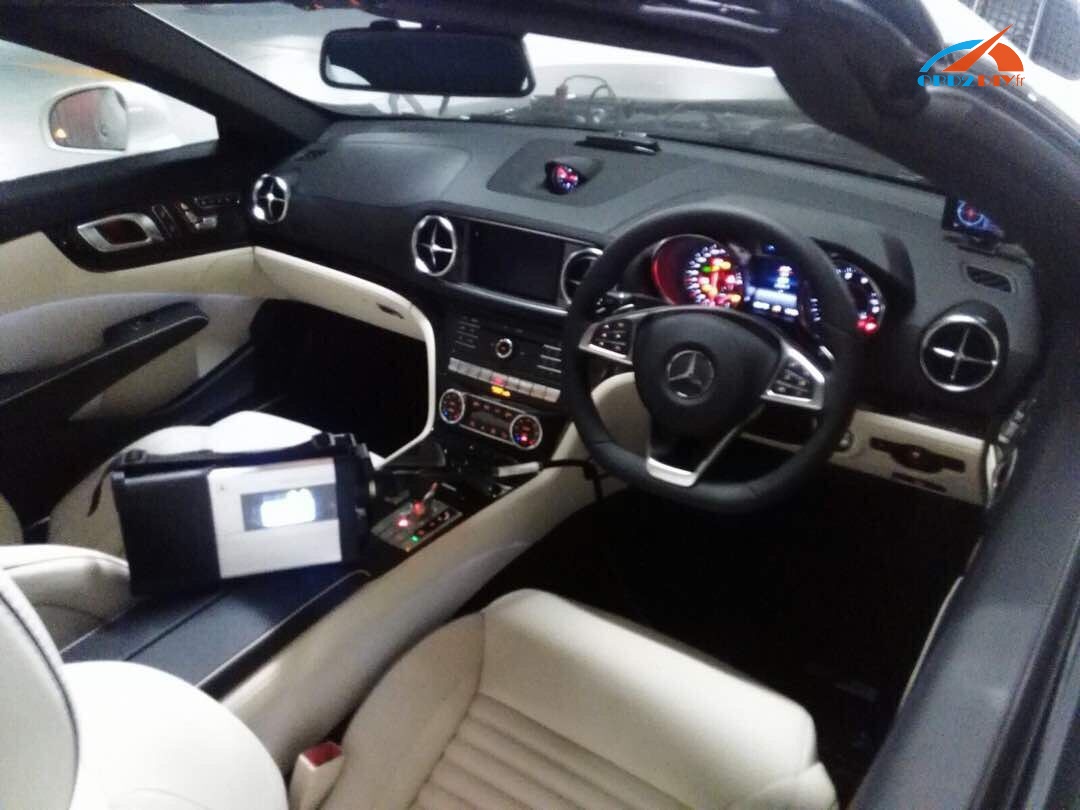
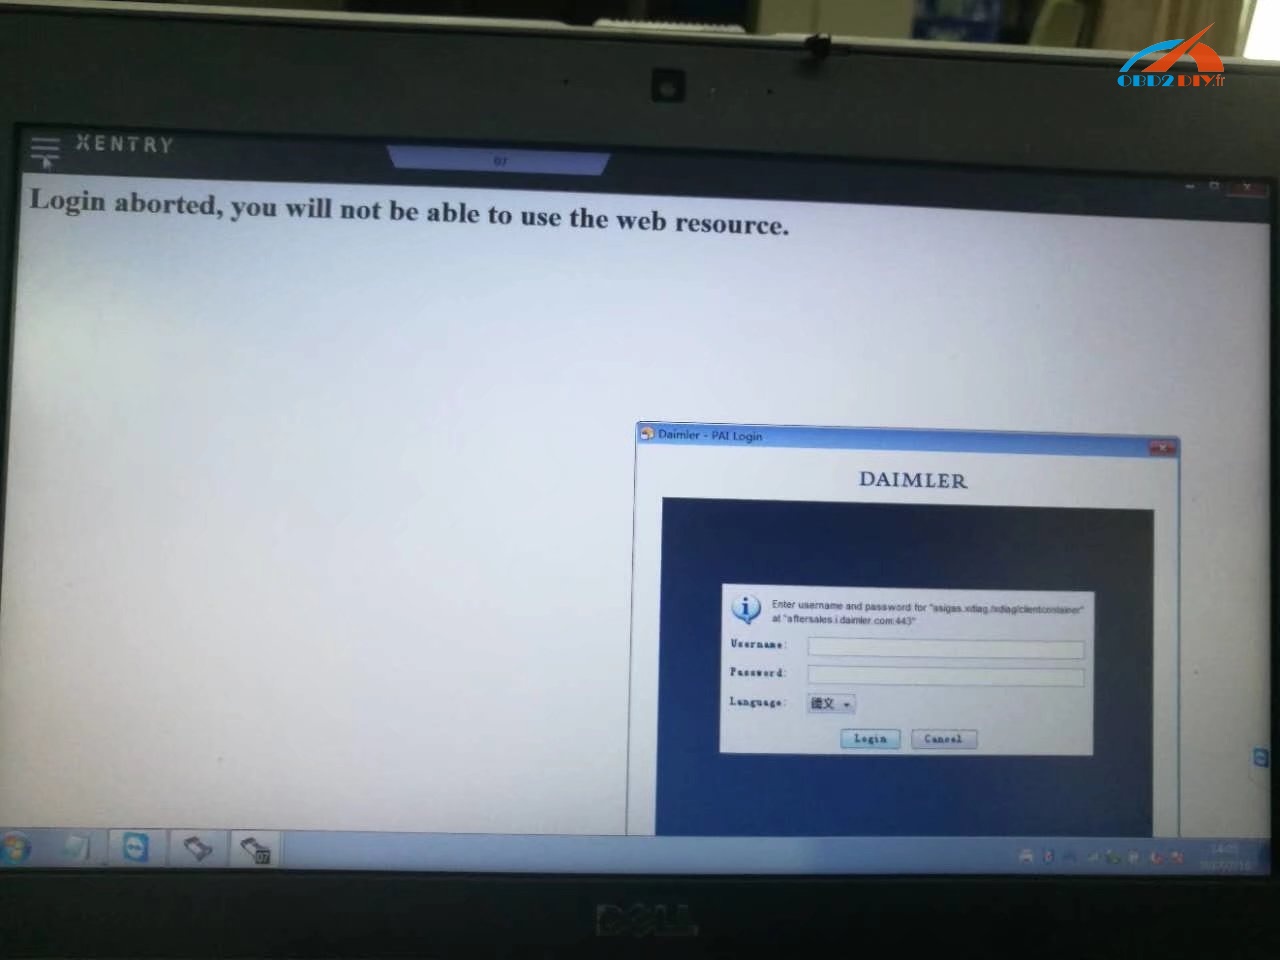
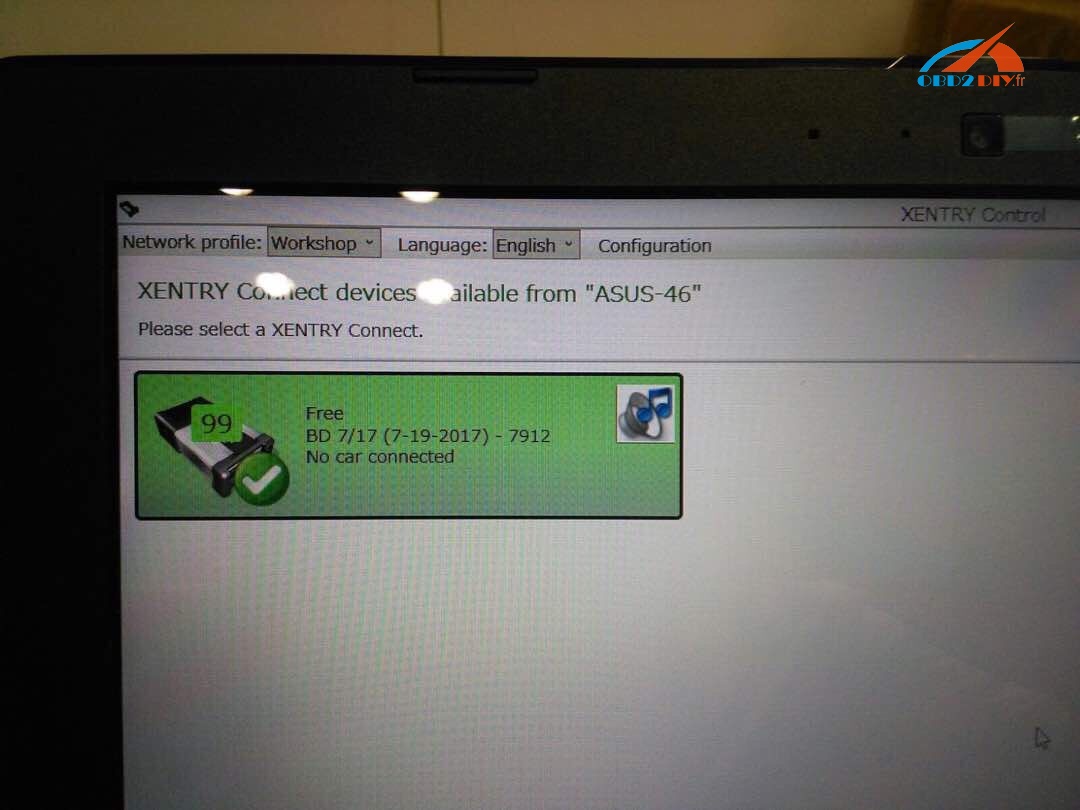
C5 is working…
Xentry Connect C5
1 diagnose newest hybrid W222
2 do DoIP diagnosis coz it has an Ethernet switch, which switches the TCP/IP messages
has an Ethernet switch, which switches the TCP/IP messages in the event of DoIP diagnosis to the vehicle side.
| Electrical Interface | SD Connect C4 | Xentry Connect C5 |
| K-LINE | yes | yes |
| CAN | yes | yes |
| DOIP | no | yes |
3 has a qualitative improvement in hardware and software by authorization of diagnostic interface to control the software.
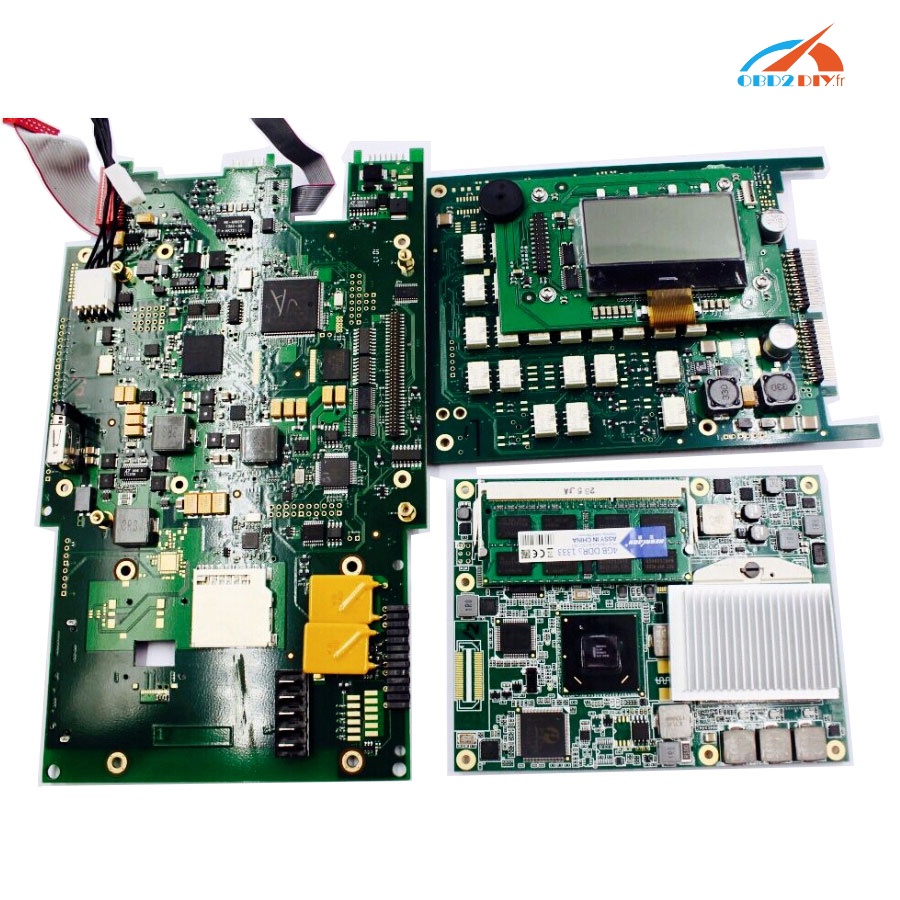
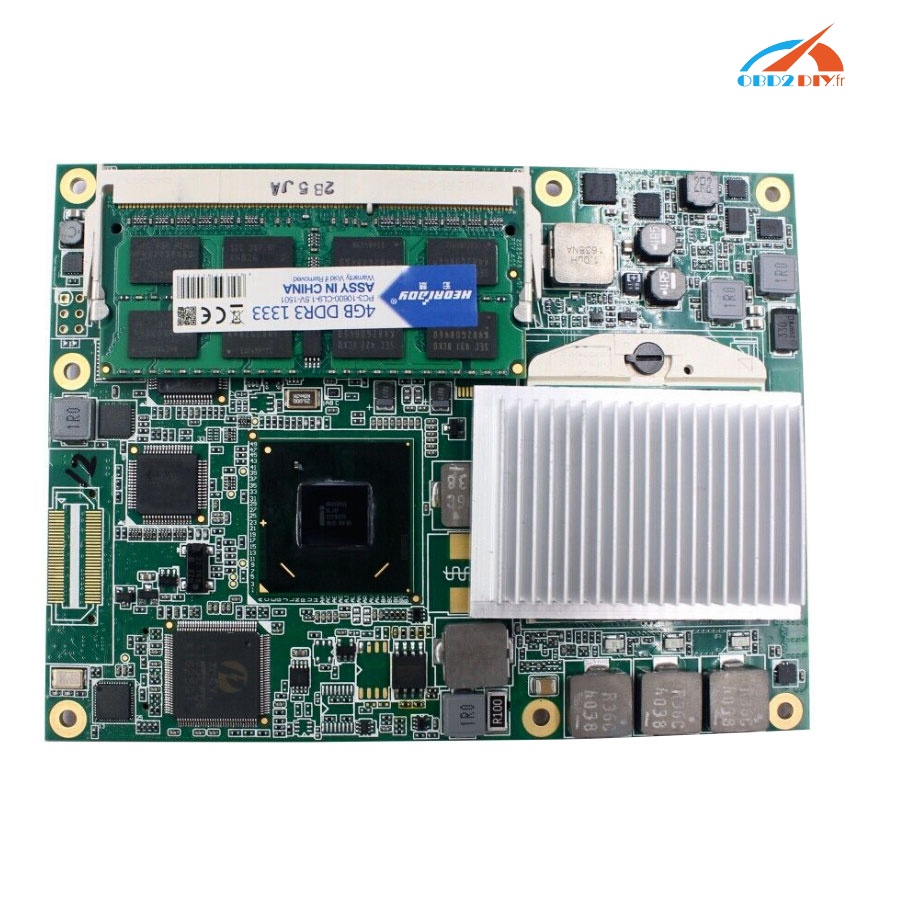
Hardware: The hardware of C5 is better and stable than SDconnect C4
1.OS: Windows Emercedesedded Standard 7(32bit)
2.Processor: ArrandaieCeleron P4500 oder P4505(38W TDP)
3.Memory: 4G hard disk with 256GB SSD
4.Display: 128*64 PX
5.Battery: 40 minutes (When CPU capacity to 60%)
6.Weight: 1.9KG
7.Network connection: WLAN : IEEE802.11 a/b/g/n2.4+5GHZ
The way to connect: support wireless connection via 1000M workshop switches, also support
.
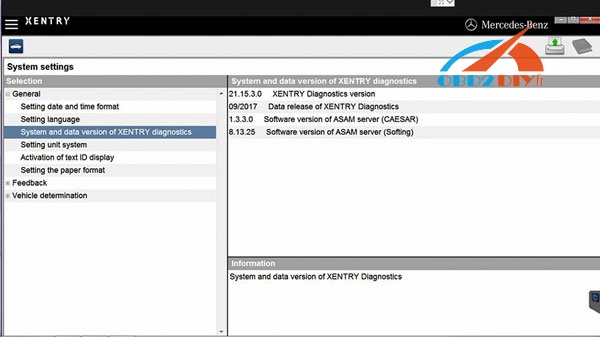
Software: All MB diagnostic software 2017.9 is loaded into the Xentry Connect multiplexer itself.
The management software can be installed on any computer with Windows 7 – 32-bit or Windows 8 – 32-bit and serves only for communication with the multiplexer
The licensing system is reworked – now licenses are stored on MB servers – Any license changes are tracked by the multiplexer when connected to the Internet network.
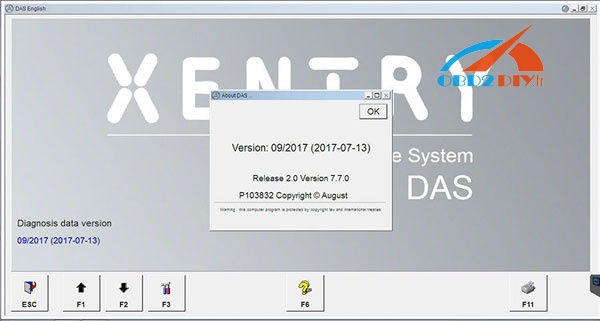
Software: (Version: 2017 )
- D-A-S / Xentry 2017.09: the automatically Diagnosis Assistance System
Concise interface and straightforward operation with IB M high-quality computer can realize the quick and accurate code reading and the whole car system testing
2. W-I-S net 2017.04: Workshop Information System
Supply the whole view of the wiring diagram in a car, component location diagram and maintenance method. What you do is to enter the chassis numercedeser, and then you will get the manufacture data, engine configuration and the car model -all in detail.
3. EPC.net 2017.04: Electronic Parts Catalog
4. ST Finder: Part Location Finder options: 2008 and 2016
5. STARUTILITIES : the movement management system and self-test
6. SDMEDIA 2014
7. PL71: 2016 MB software with PL70
Software Functions:
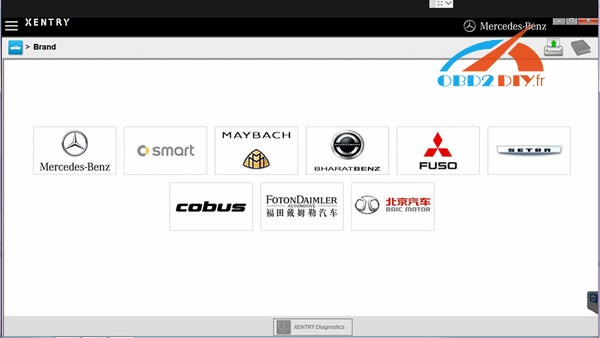
1.1989~up to now Car, Bus, Truck, Sprint, Smart ;
2.All electric system Diagnostic;(Do not include flash code)
3.reading trouble code
4.erasing trouble code
5.live-data
6.adaptation
7.component testing
8.maintenance
9.information consultation
10.component location diagram
11.wiring diagram
Testable Systems:
ENGINE
AUTO-SPEED
AIRCONDITIONAL SYSTEM
SRS
ABS
ASR
MPL
GM
Bz ORIGINAL ANTI-THEFT
DASX SYSTEM
KEYZESS GO SYSTEM
OBD-II SYSTEM