Good News!!! China clone Op-com 2010V USB interface diagnostic scanner firmware has updated to V1.59. Here is the step-by-step instruction on how to install opcom 1.59 software.
Software version (SW): 08/2012
Firmware version (FW): V1.59
1) Install op com en francais driver
Open My Computer
Open OP-COM (E:) CD software
Create a new folder “op-com” on Local Disk (C:)
Copy all files in OP-COM CD to the “op-com” folder
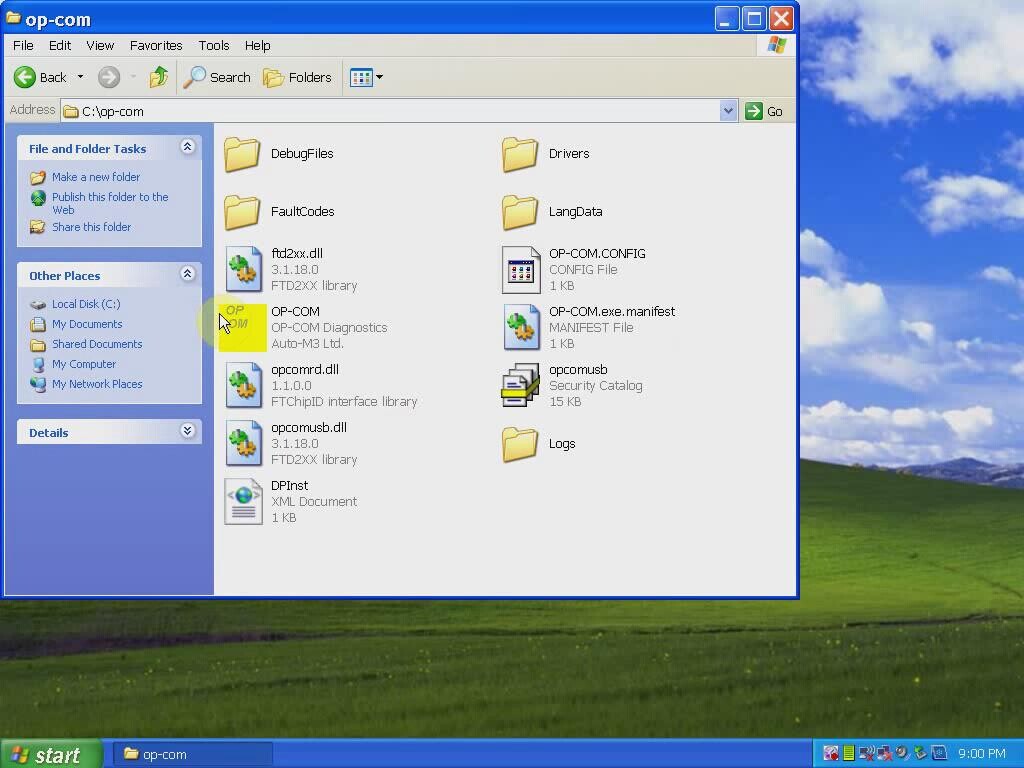
Send OP-COM Diagnostic software to Desktop (create shortcut)
Connect OP-COM V1.59 interface with computer via USB port
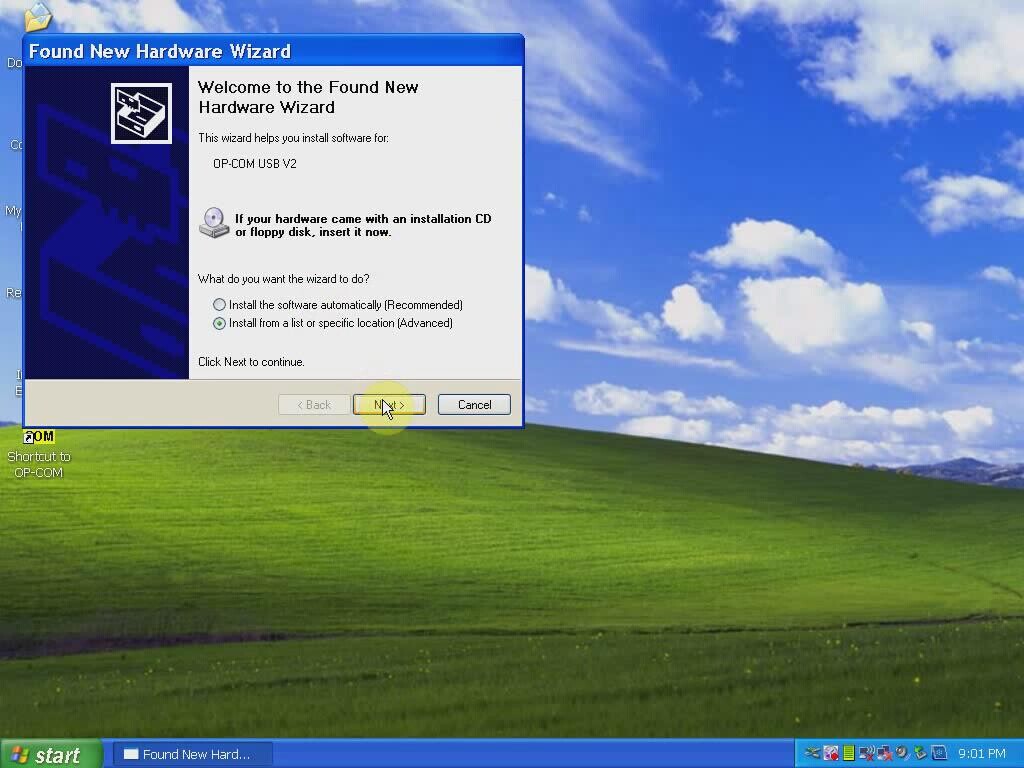
Wait the system to detect hardware wizard
Select “Install from a list or specific location (Advanced)”, click “Next”
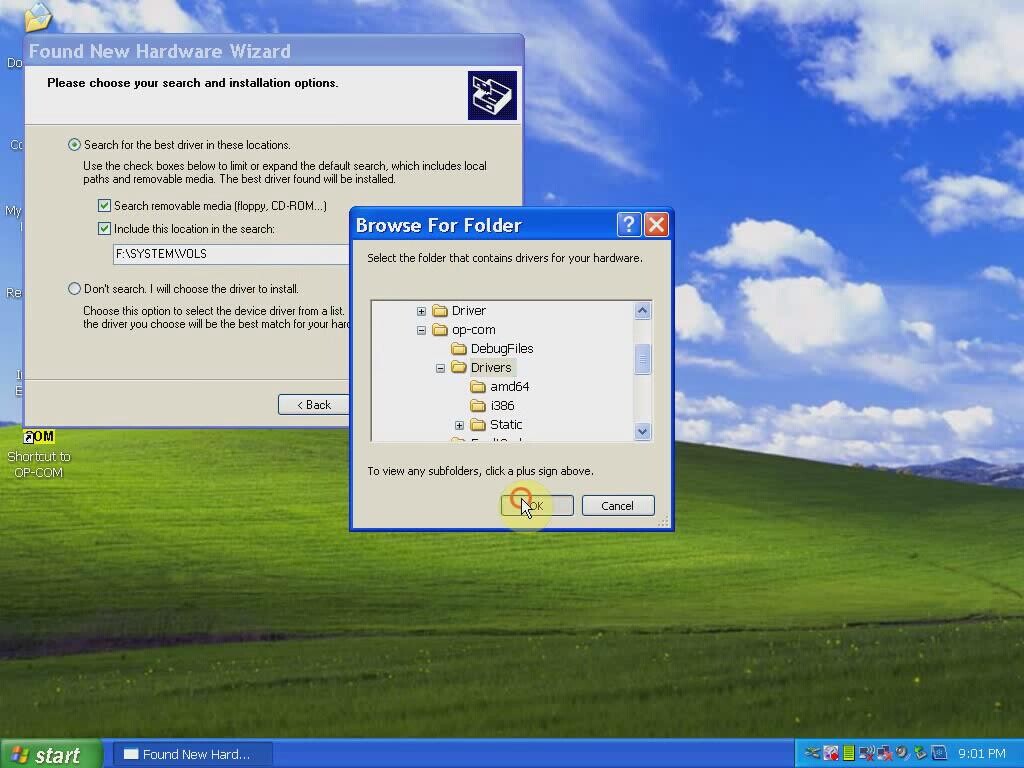
Include and browse location to C:﹨op-com﹨Drivers, click OK
Click “Next”
Click “Next”
Click “Finish” when opcom driver is completely installed

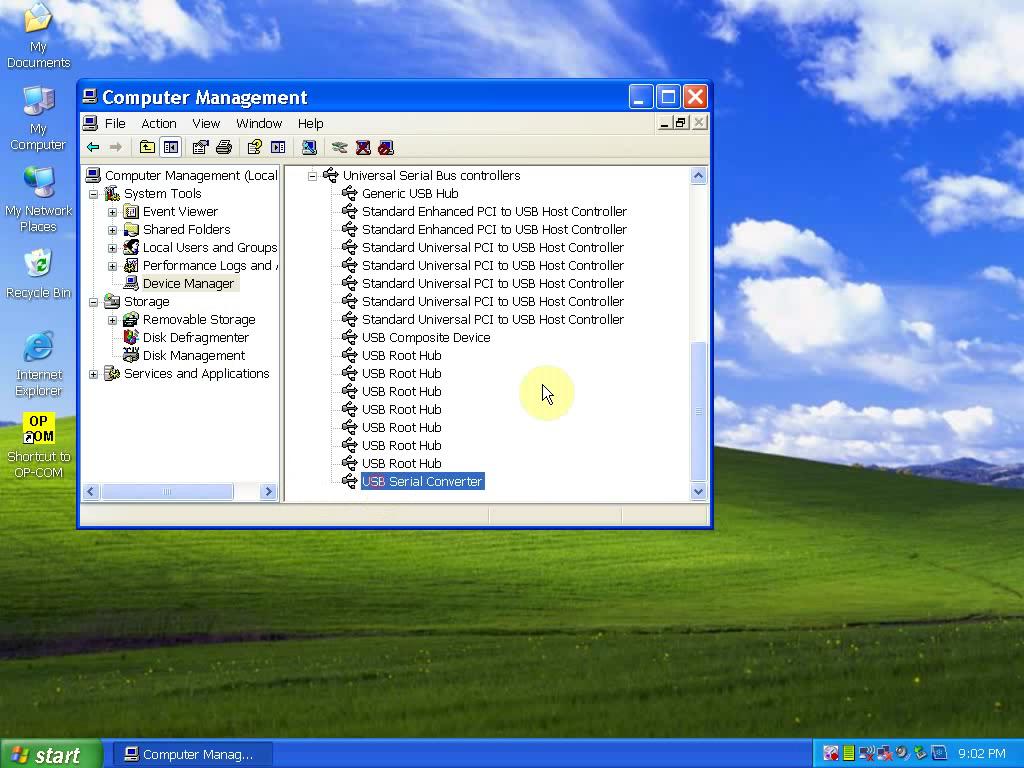
Open My Computer>>Manager>>Device Manager>>Universal Serial Bus controllers>>USB Serial Converter to make sure well communication is built
2) Run Op-com software and diagnose
Plug the op-com cable with vehicle via OBD diagnostic socket
Open “Shortcut to OP-COM” software on desktop
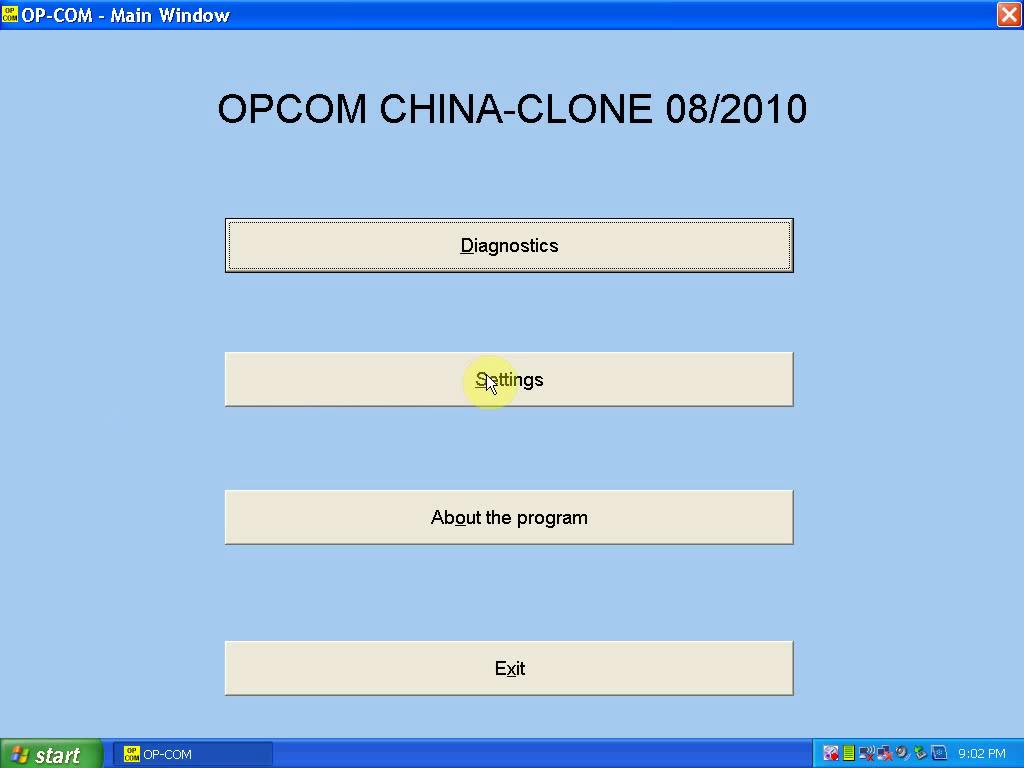
OPCOM CHINA-CLONE 08/2010
Click “Settings”
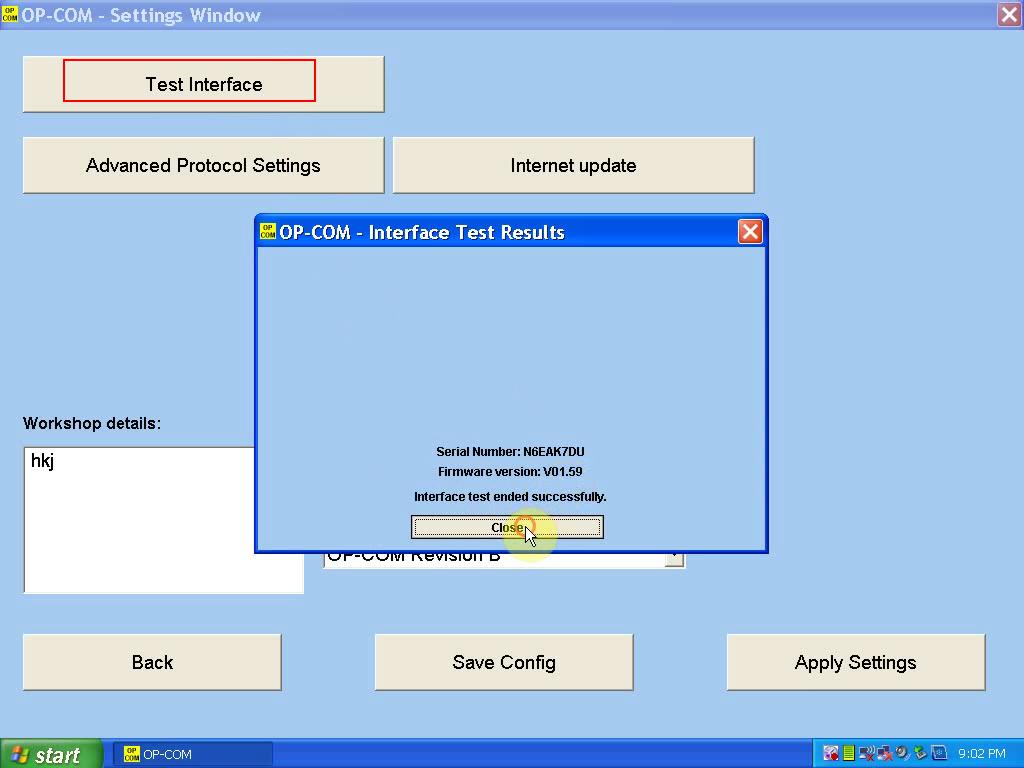
Click “Test Interface”, you will able to see the OPCOM serial number and firmware version V01.59
Click “Close”
Click “Save Config”
OP-COM Configuration saved! Press “OK”

Back to Opcom software main menu
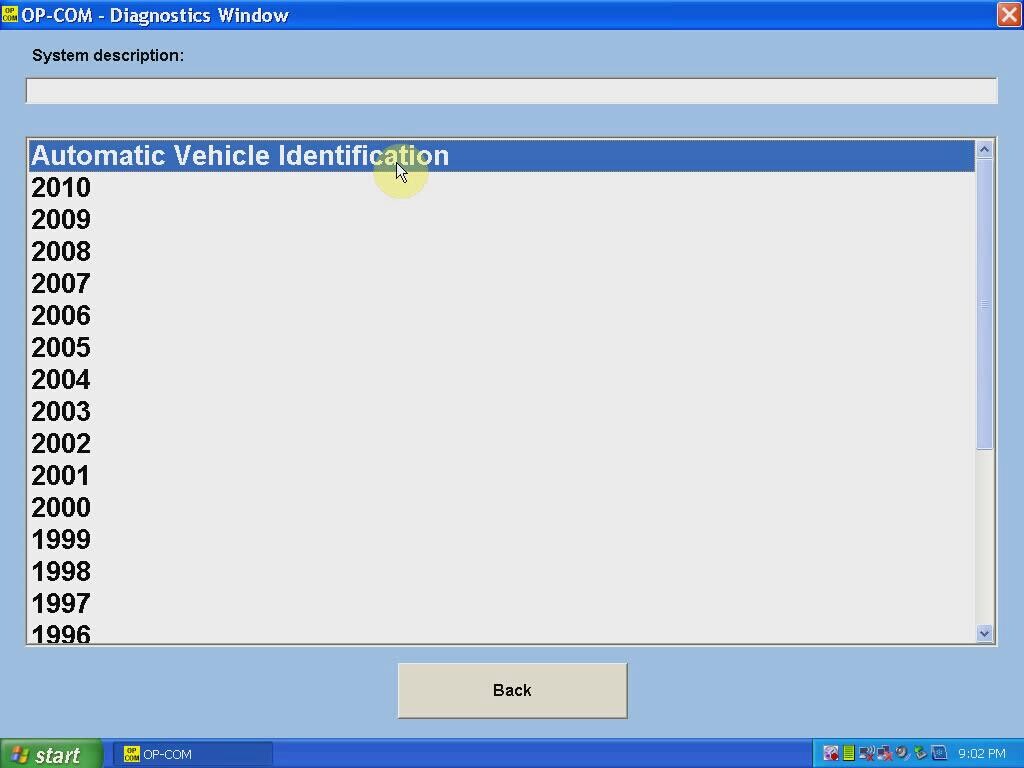
Select “Diagnostic” function
Select “Automatic Vehicle Identification”
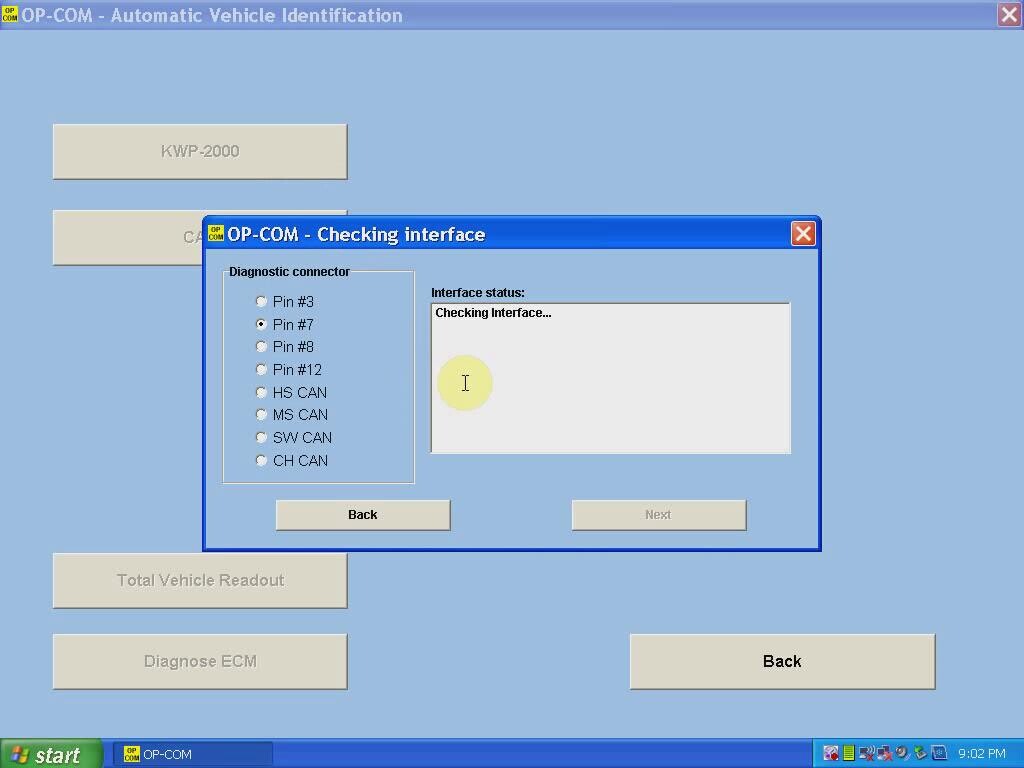
Select “KWP-2000” (K-line) or “CAN” and select diagnostic connector
The op-com 2010V software will display vehicle information, VIN, model, engine code etc
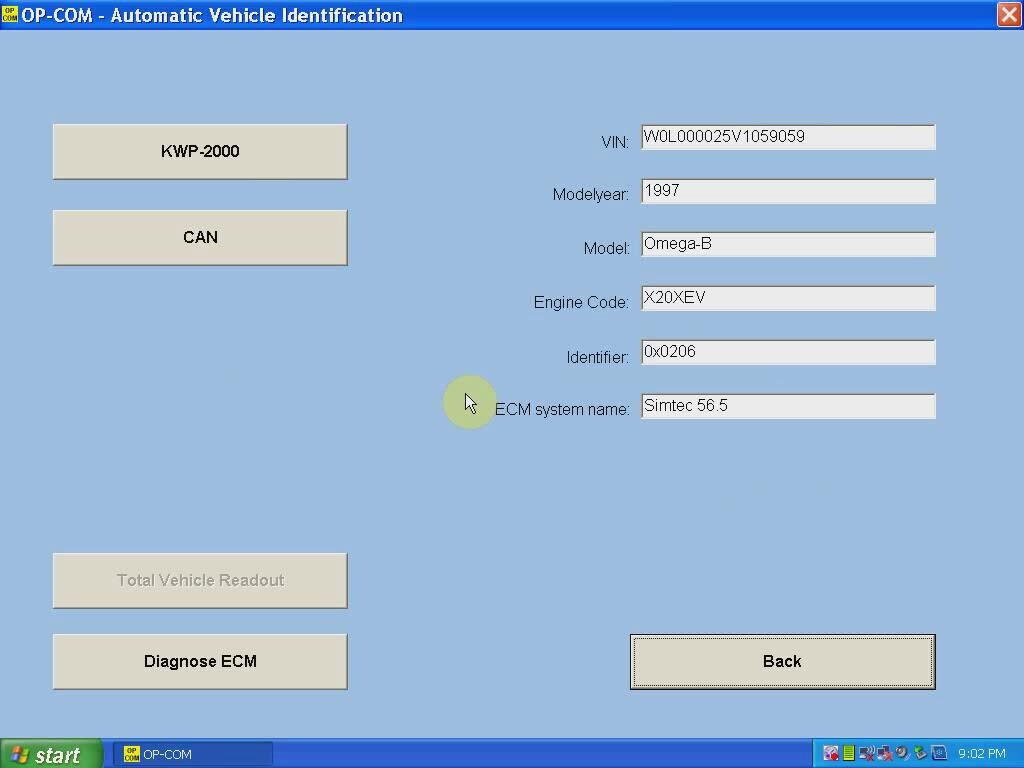
Click “Diagnose ECM” button
Select ECM type and diagnostic connector
Click “Fault Code”
Op-com will display all error codes stored in ECM
The click “Clear Fault Codes” to erase error codes
Perform other diagnostic functions or exit the software program
Unplug the op-com USB interface.

