Here is I-2016 Actia Multi-Diag J2534 software installation guide step by step for you! Check below and start!

Step 1
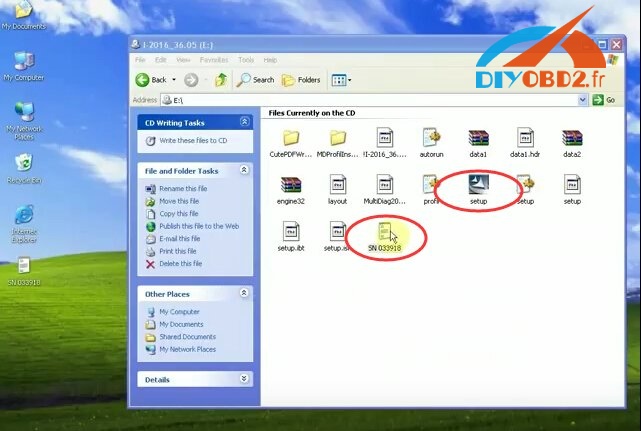
Open Actia Multi-Diag 2016 software “I 2016_36.05 (E:) “.
Copy SN 033918.txt to desktop and open Actia Multi-Diag 2016 setup.exe.
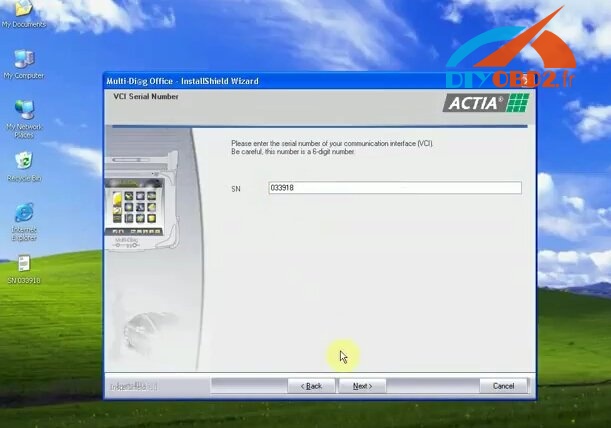
You will see Multi-Diag Office InstallShield Wizard.
Click “Next”, “I accept…” then “Next”.
Copy the SN “033918” from txt file and click “Next”.
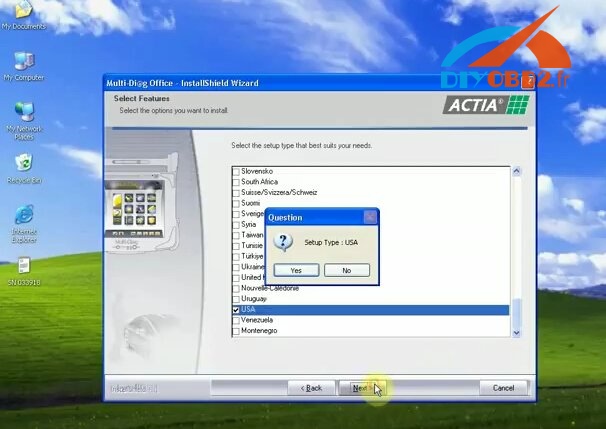
Select the setup type: USA.
Then choose “Profile ACTIA (Standard)” option.
Wait it complete and you will see the Multi-Diag shortcut on desktop.
Choose the “restart computer” option and click “Finish”.

Step 2
After that it will automatically pop up a Found New Hardware Wizard for Pass-Thru XS USB Driver.
Choose “Install the software automatically (Recommended)” option and click “Next” then “Finish”.

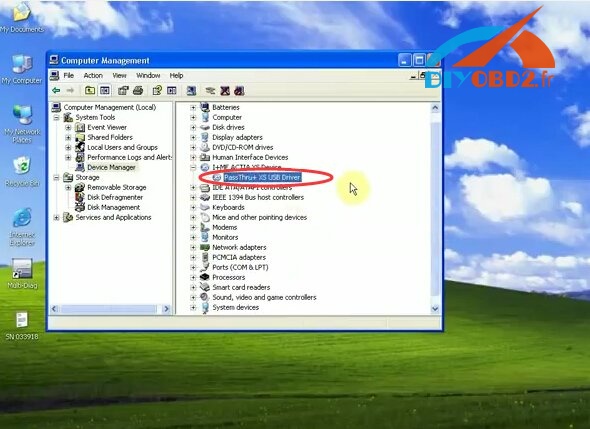
Now you can find the Pass-Thru XS USB Driver already exist.
Step 3
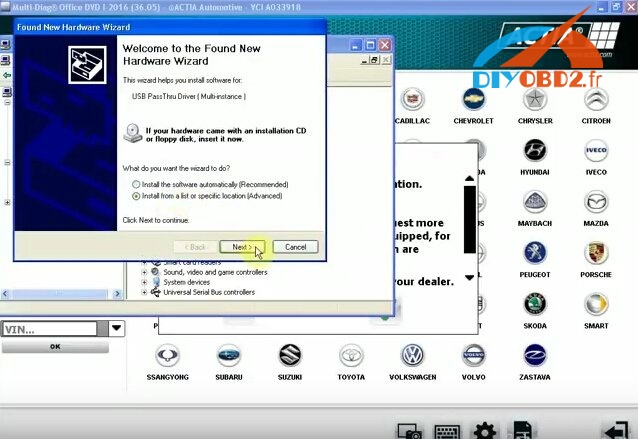
Then you can see a Found New Hardware Wizard for USB Pass-Thru Driver (Multi-instance).
Choose “Install from a list of specific location” option and click “Next”.
Check the box “Include this location in the search” then choose C: disk→ ACTIA→ Drivers VCI→ PT1G.

Click “Next” then “Finish”.
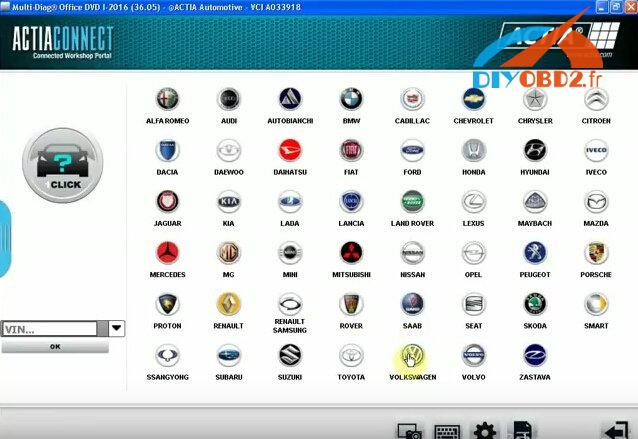
Now you can use Actia Multi-Diag 2016 diagnostic software!